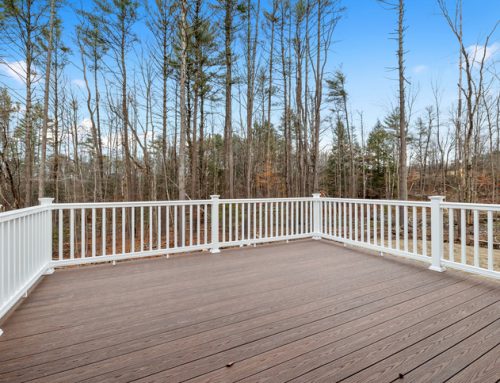
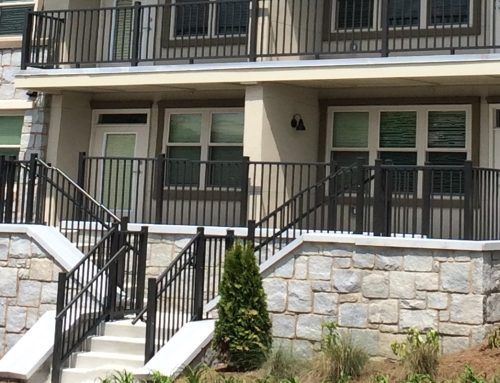
Whether you are installing vinyl, aluminum, or other fencing at your home or business, knowing how to properly measure will not only save you plenty of time, but also money. If you make mistakes while measuring, you’ll find yourself starting from scratch and spending far more money than you anticipated. When it comes to installation, vinyl and aluminum are two easy-installation options because they use a simple combination of panels and posts. Quality products are the key to having a great fence, contact Tek-Rail to learn more about how we can assist you in your fencing project. For now, if you’re looking to know how much your fence project will cost and are eager to get started, keep these tips in mind when measuring.

Important Fence Considerations
Before diving into a fence project, it’s important to understand the process with some prep work. Installing fences is not always an easy job and considering professional help in various areas could surely simplify your experience.
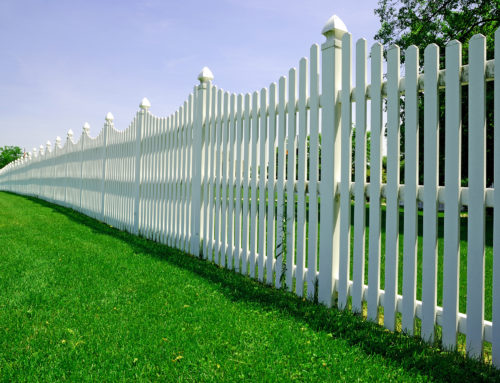
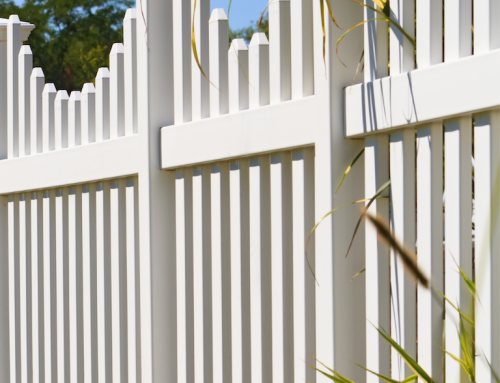
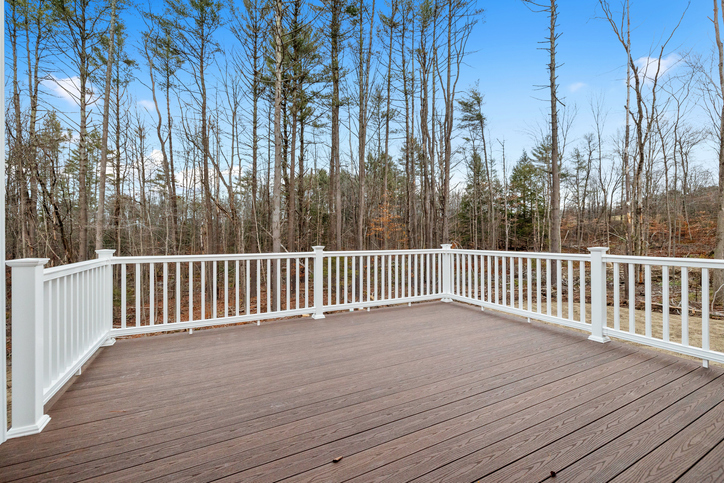
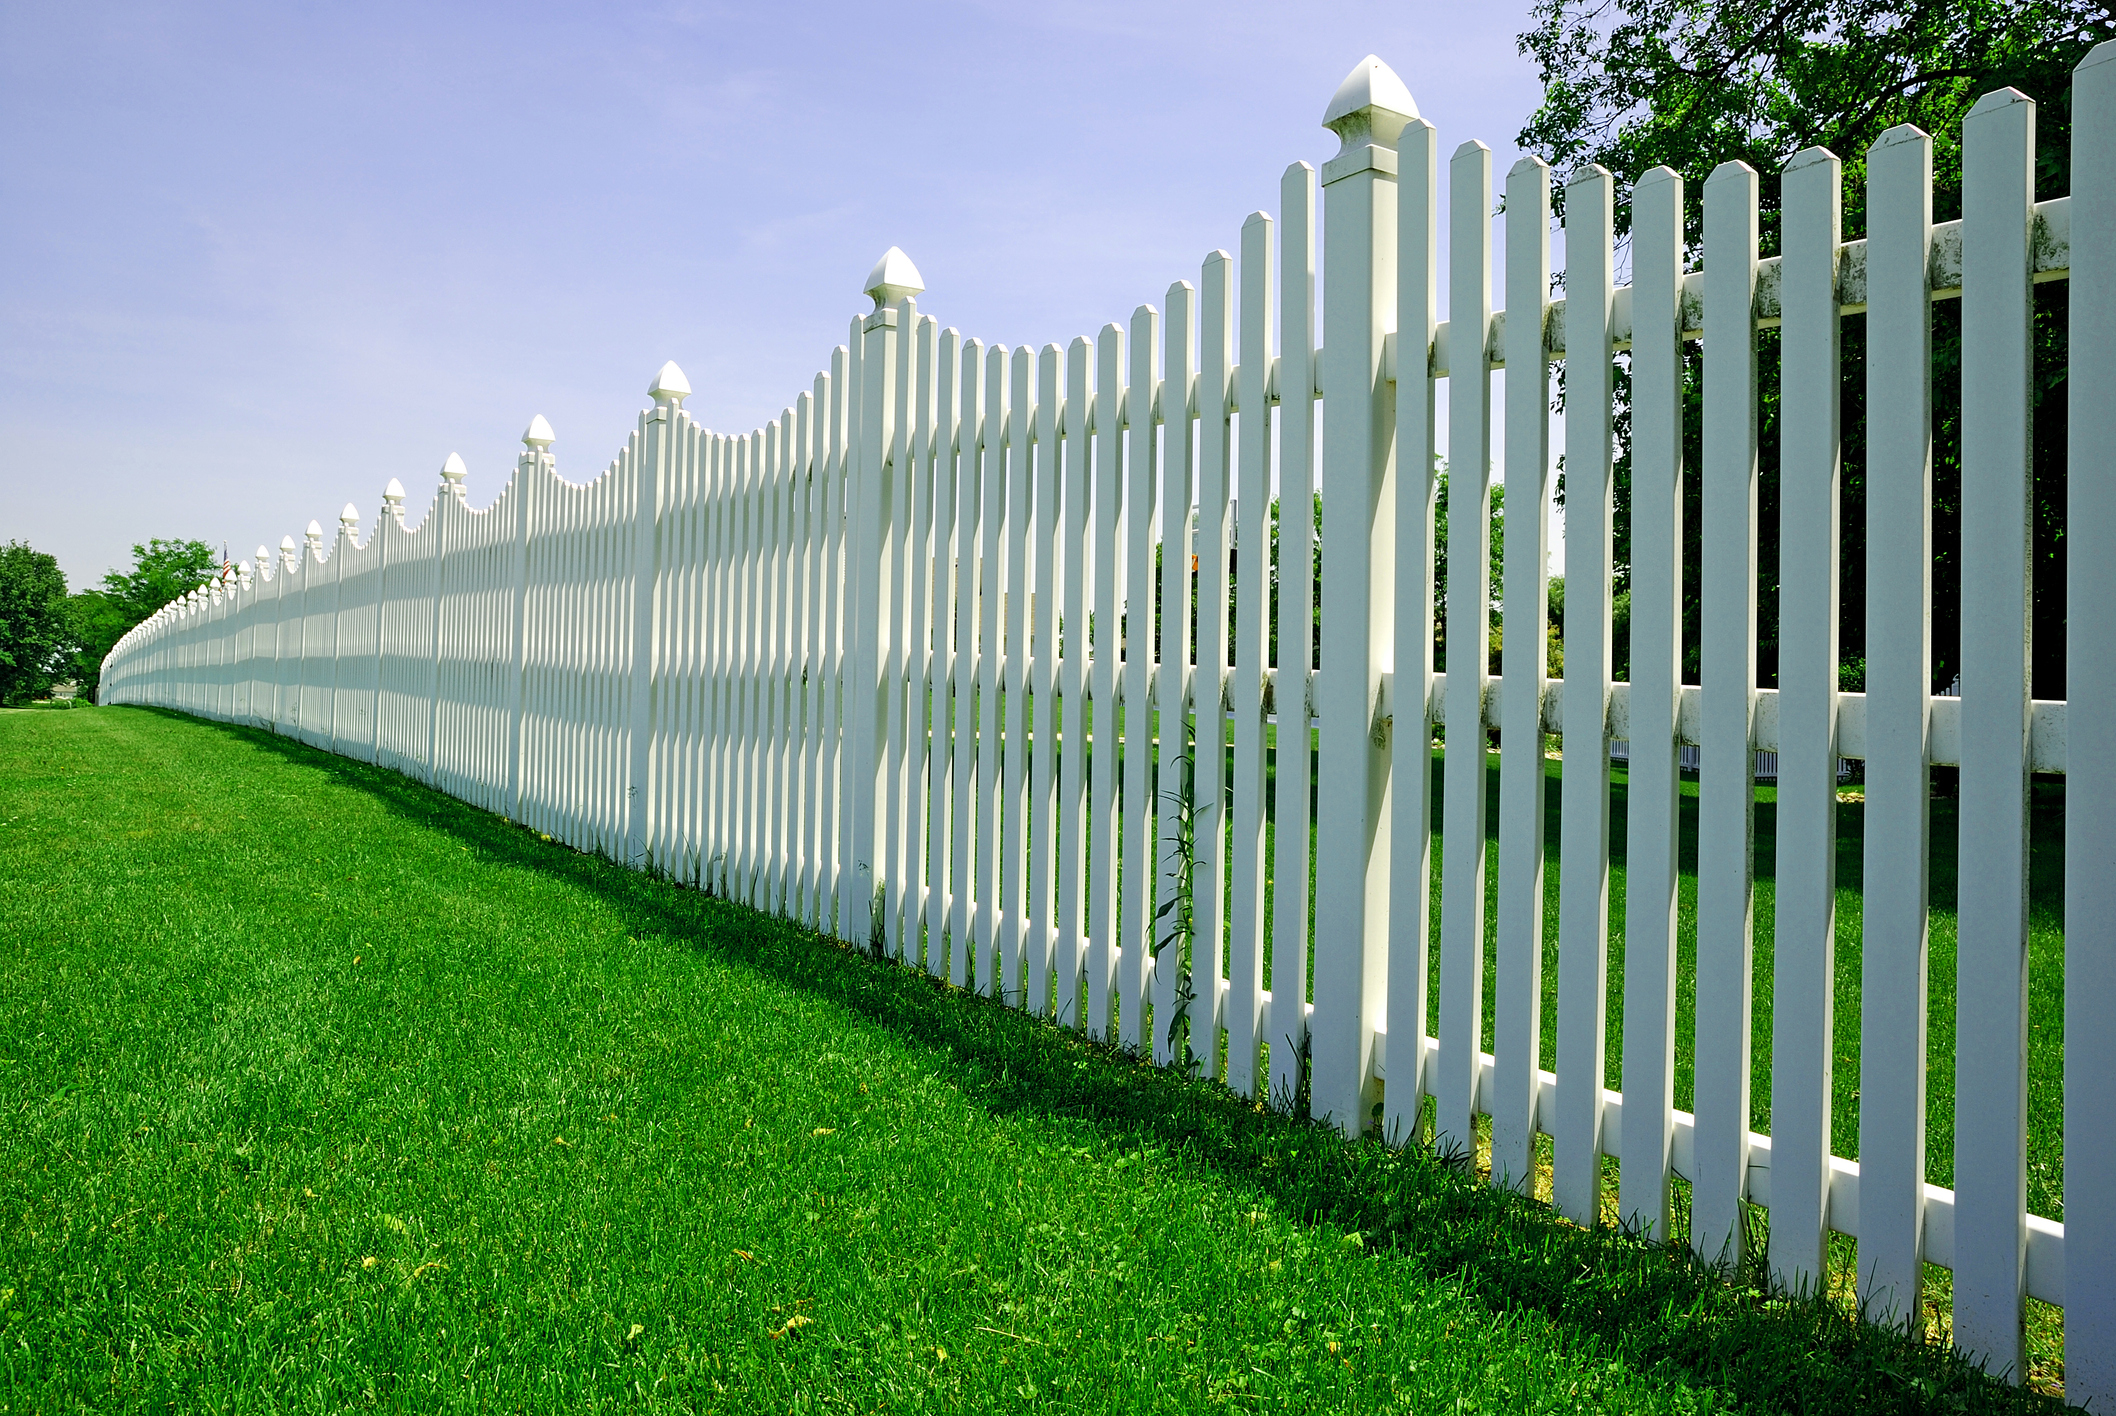
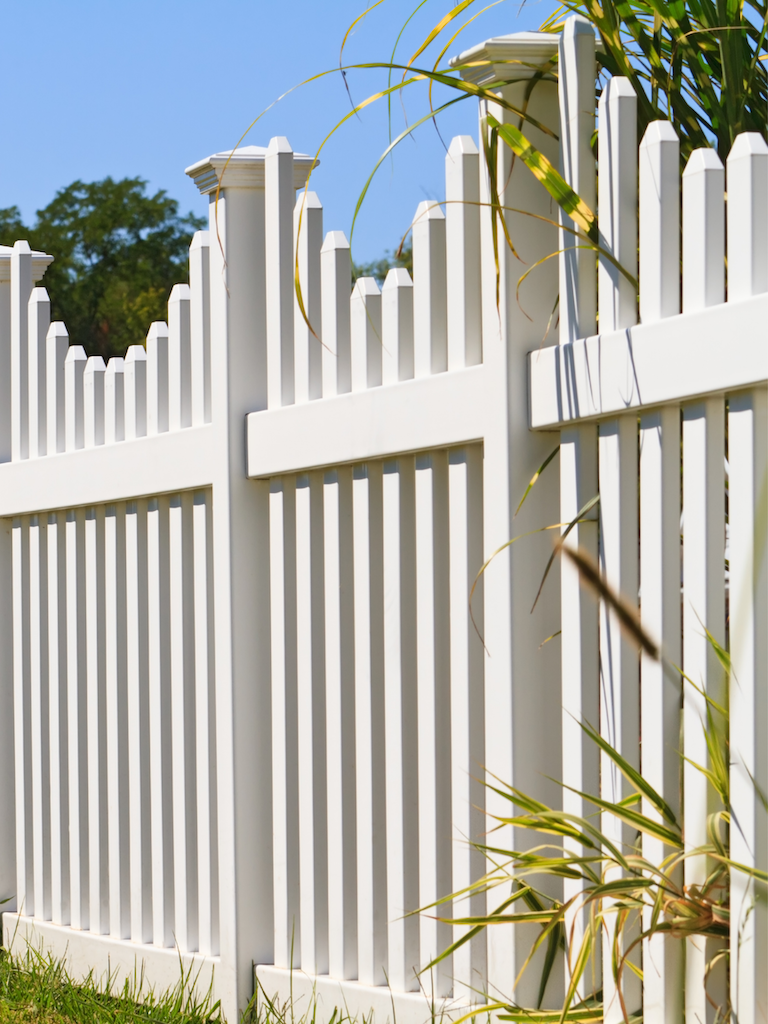
First, you must decide what style and fencing material you are looking for. The purpose of the fence, fence height, and overall aesthetic should decide what material you go with. There are so many options, but we recommend looking into vinyl and aluminum fences for their overall quality. These products are perfect for every fencing project, from a white picket fence to a pool fence, they are sure to last a long lifetime. After finalizing your material, there are a few other important things to take into consideration.
First, make sure you know exactly where the property line is in relation to where you will be installing your fence. When it comes to this, don’t just take a wild guess. A good resource for understanding where your neighbor’s property ends and yours begins is your local county records. If you’re still unsure, have a land surveyor put their expertise to work before you get started.
Another important factor is being mindful of any obstructions or utility lines that may be in the pathway of your fence. First, you’ll need to understand what trees, bushes, or permanent obstructions you should plan around. More importantly, locate any underground utilities that may be nearby, such as gas, electric, or cable lines. If you don’t and you dig in the wrong spot, a catastrophic event can happen. In most localities, you can call 811 to get someone to come to your property and mark the location of utilities.
Finally, take your terrain’s slope and topography into consideration. Since few fences are ever installed on an area that is completely flat from end to end, think about how this will impact your installation. For example, if you will be going severely uphill, you may need more fence panels than you expected, so plan accordingly.
1. Draw Your Blueprint
Now that you’ve taken care of some of the preliminary details, it’s time to sit down and draw your fence installation blueprint. This may sound hard, but it’s actually quite easy. In fact, there are numerous smartphone apps you can download for this, making it possible to get it completed in mere minutes. With some apps, you can use Google Maps aerial photography to help draw your blueprint. When doing so, always make sure your blueprint has the correct measurements on the sides of any gates you may be planning to install, since this will help to ensure that you properly calculate the total length and the correct number of posts and panels you will need.
2. Designate Entrances/Exits
When designing your fence installation plans, always decide early on where you want the various entrances and exits. This will help you calculate not only how many gates you will need, but also how many posts will be needed. Should you forget to include your entrances and exits on your blueprint and get into your installation before you realize your mistake, it will be a costly one.
3. Mark Your Corner Posts
When you are ready to mark your corner posts, have plenty of small, wooden stakes at the ready. Remember that when marking your corner posts, these are the spots on your property where the fence panels will meet at a 90-degree angle. Also, when marking your corner posts, you may want to run a string line from stake to stake, since this will give you a better visual idea of how your fence layout will look around your property.
4. Measure the Perimeter in Feet
Now that it is time to measure the perimeter of your property, remember to always do so in linear feet. Just as you did when marking your corner posts, use the stakes you already have in place as your guide. As you are doing your measuring, remember that the measuring tape will need to remain very taut. If it doesn’t, your fence length measurements will be way off. Therefore, you may want to enlist the services of a helper to make this step much easier.
Once you have your perimeter measurements, you will need to divide this by the measurement of your fence panels. In other words, divide this by the size of the fence panels you are planning to use. Most fence panels are six to eight feet in length. Once you do your division, the answer will let you know how many fence panels you will need to complete your project. However, remember that if you are installing a chain link fence or building a custom fence, you may not need to perform this step, since the perimeter total will be all you need.
5. Line Posting
Just as you did when marking your corner posts, you will also need to mark the spots where each of your line posts will be located. Plan on being extremely accurate with this, since having inaccurate measurements for line posts will probably have you coming up a few posts short of what you actually need.
Also, make sure you place each stake marking line post location in a straight line. To do so, you should probably grab the string you used earlier and use it in this step as well. Doing so, will let you see if your line is a bit crooked anywhere before you start the fence installation. After all, the last thing you want to see after you’ve installed your fence is one that is too crooked for your liking.
6. End Posts
When measuring for your fence and, in particular, end posts, it’s crucial that you remember these posts are called end posts for a reason. Not only do they mark the end of the fencing, but they also have holes drilled on only one side, meaning your fence will extend from the side in which the holes are drilled. If you make the mistake of assuming a fence post is a fence post, you may find yourself trying to use an end post for a line post or gate post, which won’t work. Also, you may miscalculate and wind up buying too many end posts or not enough line posts, both of which will throw your fence installation into chaos.
7. Measure Twice for Good Measure
Finally, before you ever sink that first fence post and set it in concrete, it will be a good idea to go over your property one more time and verify your initial measurements. Even if you have installed fencing before, it never hurts to make sure you did not make a mistake along the way. In doing so, you can verify your entrances and exits, ensure you have enough posts and hardware for the job and know exactly where the property line exists for your home or business. Fence measurements are a huge part of this project that you want to ensure you are getting right.
Fence Permits and Permissions
Depending upon where you live, you may need to obtain certain building permits before your project can begin. If you belong to a homeowner’s association, always check with them first to make sure you have the right to install the fence you have in mind. If you are wanting to install a fence at your business, make sure you have whatever permits may be needed and that you will not be violating any zoning laws once your fence is installed. Should you be installing a residential fence, it may be nice to let your neighbors know beforehand, just in case they have any questions or concerns.
Digging a Fence Post
Though digging a hole sounds simple, there are some things you should remember. Along with ensuring you’re not going to hit a gas or electrical line, think about how deep and wide the hole should be for your fence post. A good rule of thumb to use is to dig the hole to a depth that is half as long as your fence post while making the hole about three times the width of the aluminum or vinyl post.
Now that you know how to measure for your fence installation, there’s nothing left to do but gather your posthole digger, shovel, and other tools and supplies and get started. By being careful with your measurements and having someone to act as your helper on the job, it won’t be long until you are staring at a beautiful new fence around your home or business.
Utilizing a Fence Calculator
For a DIY fence project, using a fence calculator can be a crucial part of estimating the number of fencing materials you will need. There are several fence calculators out there. The Omni Calculator walks through the specific process and equations involved in a fence calculator including finding the number of posts and rails, width, height, and volume of concrete.
Tek-Rail Supplies Quality Fence Systems for an Easy Installation Process
As a railing and fencing company, Tek-Rail is here to provide quality fence systems to make your job that much easier. With vinyl and aluminum fence options, our residential fences are strong and durable to provide long-lasting fencing around your property. Contact us today to learn more about how our qualities can serve your fencing needs.